Resin 3D Printing: Processes, Materials, and the Decisions That Actually Matter
Content in this Article
3D Printing can look straightforward in CAD and still fail after printing, finishing or inspection. The useful question is not whether a process can make the geometry once, but whether the chosen material, orientation and acceptance method can deliver the required function repeatedly. This guide turns that decision into a practical review workflow.
- Define the operating environment, functional load, quantity and acceptance criteria before choosing a process.
- Treat dimensions and performance values as design-starting points; confirm the exact grade and supplier capability before release.
- Use a first article or pilot lot to lock inspection and process controls before scaling.
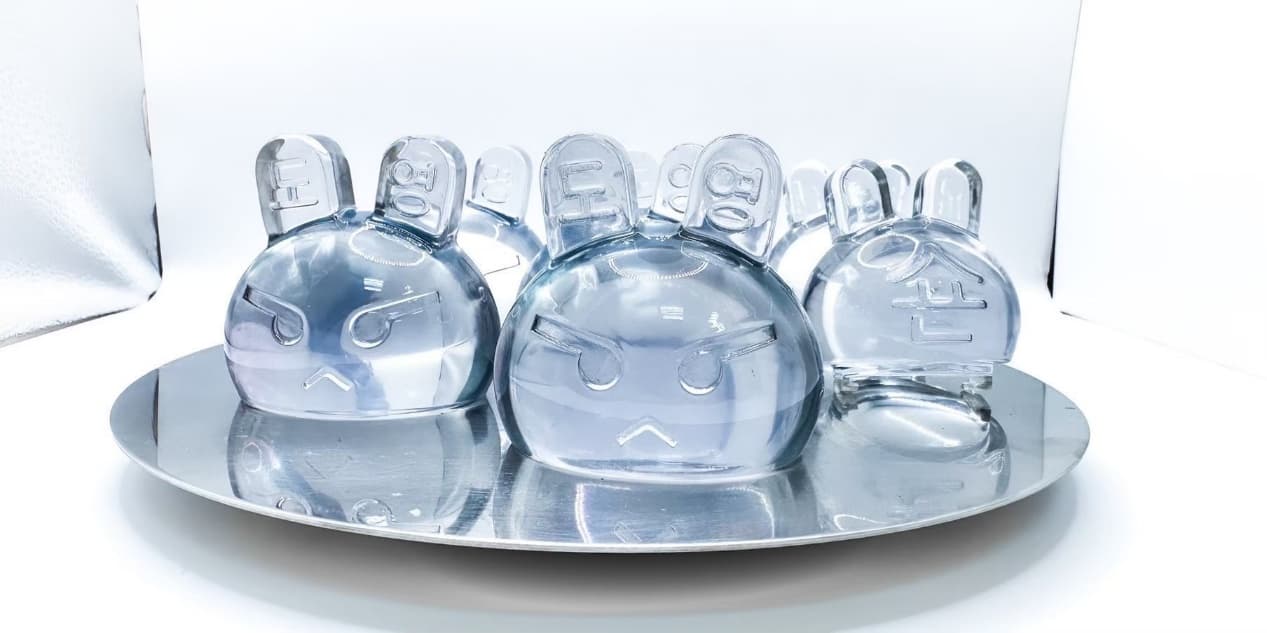
Start with requirements and process selection
What Resin 3D Printing Actually Is
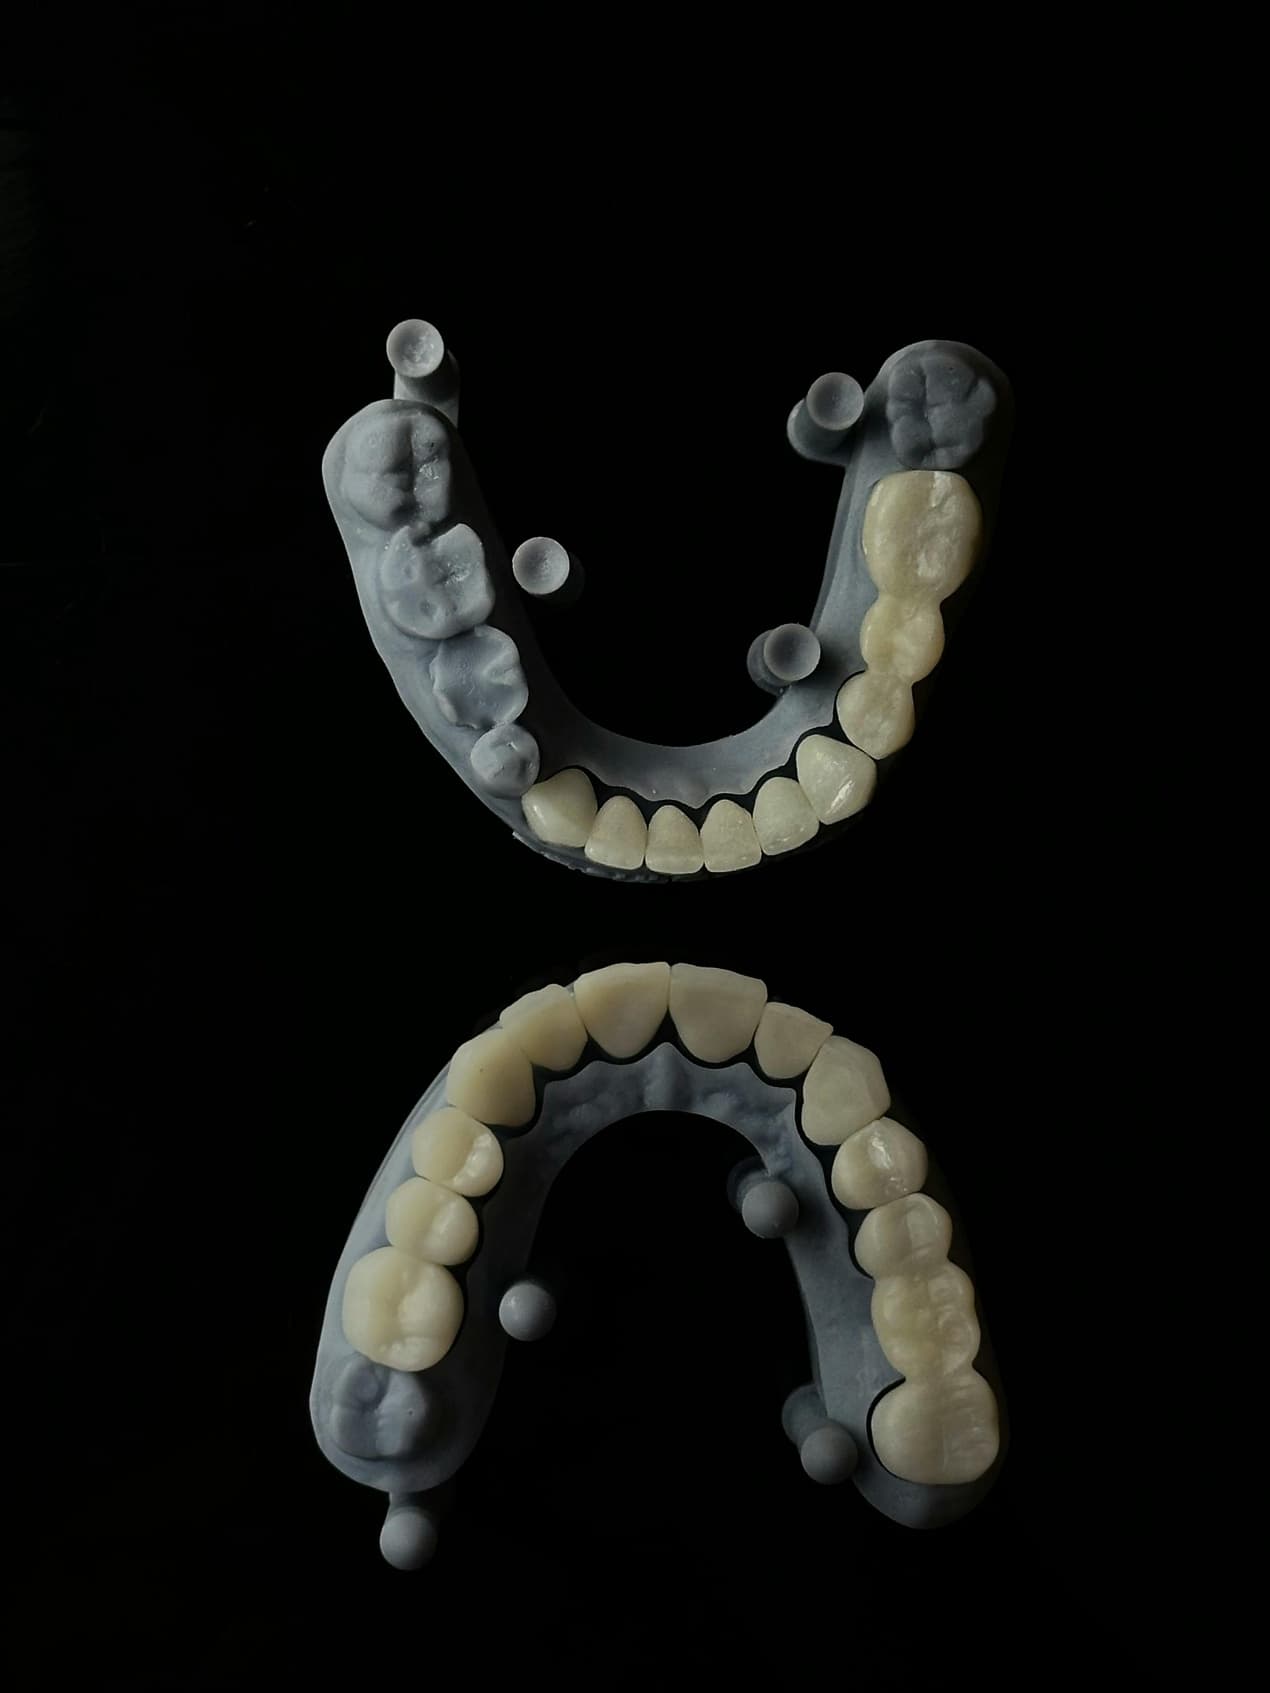
Every resin process starts from the same chemistry: a liquid photopolymer that cures when light at the right wavelength hits it. What differs is how the light is delivered and how the part is supported as it builds. A UV laser traces each layer in SLA; a DLP projector exposes an entire slice at once; Carbon's DLS pulls a part out of a resin pool through an oxygen-permeable window and cures it more-or-less continuously; PolyJet jets droplets of photopolymer directly and cures them on the fly, which lets it print multiple resins side by side in the same part.
The Four Resin Processes at a Glance
| Process | Light mechanism | Typical layer | Throughput per build | Material breadth | Best fit |
|---|---|---|---|---|---|
| SLA | UV laser tracing each layer | 25–100 µm | Slow on dense layers; fast on sparse ones | Very wide — standard to engineering, clear, high-temp, castable | Fine detail, clear parts, patterns, precision hardware |
| DLP / MSLA | Projector exposing full layer | 25–100 µm | Layer time independent of part count | Wide, but tuned per resin vendor | High-throughput small parts (dental, jewellery) |
| DLS (Carbon) | Projection through O₂-permeable window, near-continuous | 20–100 µm | Fast for tall parts | Narrower, but engineering-grade; EPU / RPU / EPX / MPU families | Production elastomers, engineering-grade resin parts |
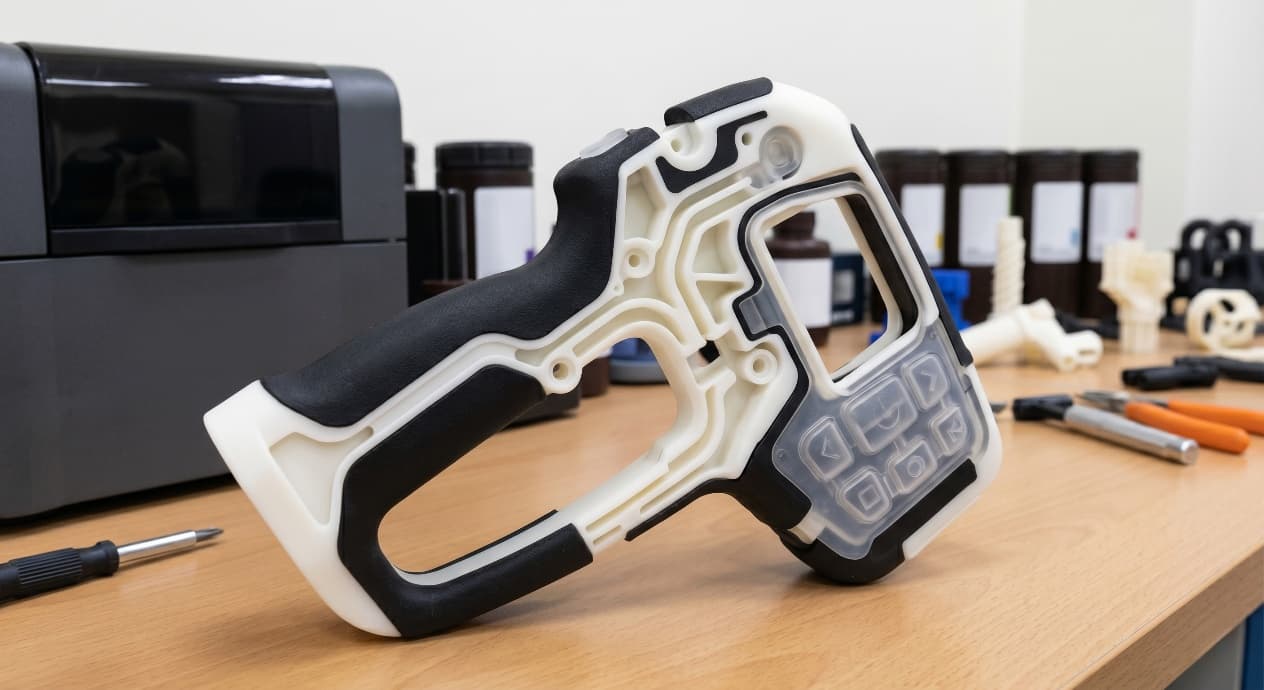
| PolyJet | Multi-head jetting + immediate UV | 16–27 µm | Moderate; scales with part footprint | Unique — multiple resins in one build | Multimaterial concepts, overmould simulation, transparent + rigid combined |
Layer thickness is the headline spec, but the useful translation is what feature it lets you resolve cleanly. A 100 µm layer is adequate for most functional prototypes and runs three to four times faster than a 25 µm build. A 25 µm layer is where lettering smaller than 1 mm becomes legible and where curved surfaces stop showing step lines to the naked eye.
3D Printing: define requirements before selecting a process
Connect requirements, process decisions and inspection before the first build to reduce late design changes.
- 1Requirements
Function, service environment, quantity and failure risk
- 2Material and process
Material grade, build strategy, geometry and finishing
- 3Inspection
Critical dimensions, functional tests and lot records
Key design rules
The Resin Material Landscape
A single machine can run ten or more resins that behave like ten different materials. The labels printed on the bottle ("ABS-like", "PP-like", "rubber-like") are a rough direction, not a property guarantee — the printed part is rarely identical in fatigue, impact, or long-term stability to the moulded reference material. The honest way to pick a resin is to match it to the dominant requirement (strength, clarity, temperature, flexibility, biocompatibility) and validate the rest.
| Family | Tensile (MPa) | HDT (°C) | Elongation | Hardness | Representative use |
|---|---|---|---|---|---|
| Standard | 50–65 | 55–65 | 5–8% | 80D | Concept models, visual reviews |
| Tough / ABS-like | 35–50 | 45–60 | 15–50% | 70–85D | Functional prototypes, fit-and-feel |
| Rigid engineering | 65–80 | 75–120 | 3–6% | 85D+ | Stiff structural, jigs, fixtures |
| Clear (standard) | 45–60 | 55–75 | 8–12% | ~80D | Fluidics demos, optical concept |
| Clear high-temp | 55–80 | 180–238 | 3–6% | ~87D | Autoclave medical, moulded-glass look |
| Castable | Burnout-tuned, low strength | n/a | Minimal | Wax-like | Jewellery, investment casting patterns |
Industrial vs. Desktop Resin Printing
Desktop MSLA machines are genuinely capable — at the same Shore or the same layer spec, a good desktop printer can produce parts that look very close to industrial output. The difference surfaces under repetition. Industrial machines hold laser or projector intensity within tighter bounds across months, recoat with controlled mechanics rather than gravity, deliver larger build envelopes, and expose a service menu of validated engineering resins that desktop ecosystems rarely match.
| Attribute | Desktop MSLA | Industrial SLA / DLP / DLS / PolyJet |
|---|---|---|
| Layer consistency over months | Drifts with LCD / UV aging | Maintained by calibration and QA |
| Build envelope | ≤ ~200 × 130 × 200 mm | Up to ~400 × 400 × 500 mm on industrial SLA |
| Material menu | Mostly standard + tough + some flexible | Full menu incl. high-temp, castable, ceramic, engineering |
| Support algorithm | Generic slicer, manual tweak | Vendor-tuned for the specific resin + geometry |
| Repeatability batch-to-batch | Acceptable for concept | Production-grade, documented |
| Per-part cost (small volume) | ≈ $5–15 loaded | ≈ $20–80 loaded |
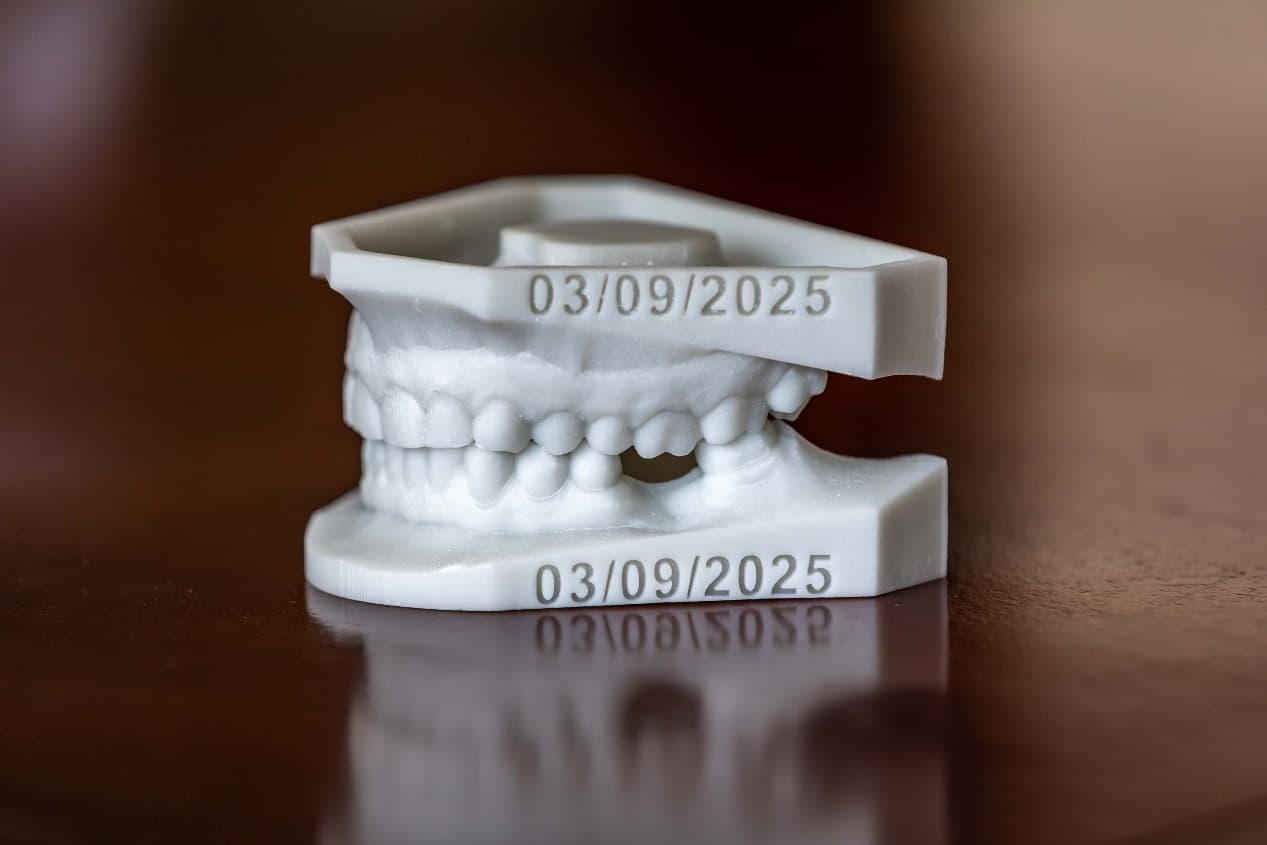
From prototyping and finishing to acceptance
DFM Numbers for Resin Parts
Resin resolves finer features than any other polymer additive process, but there is still a floor. The numbers below are safe defaults across industrial SLA, DLP, and DLS; PolyJet can go roughly 30% finer, and desktop MSLA should back off by about 30%. Always pair a feature callout with the intended finish — a 0.
| Feature | Industrial SLA / DLP / DLS | PolyJet | Note |
|---|---|---|---|
| Structural wall | 0.5 mm | 0.3 mm | Thinner walls print but warp during post-cure |
| Supported wall (rib / boss) | 0.3 mm | 0.2 mm | Respect aspect ratio ≤ 10:1 |
| Embossed text | 0.4 mm wide × 0.4 mm tall | 0.2 mm × 0.3 mm | Sans-serif survives better |
| Engraved text | 0.4 mm wide × 0.4 mm deep | 0.25 mm × 0.3 mm | Must be deeper than layer thickness |
| Hole diameter | 0.5 mm | 0.3 mm | Round holes hold better than slots |
| Clearance between moving parts | 0.2–0.4 mm | 0.15–0.3 mm | Resin-dependent; confirm with a test block |
3D Printing: four checks before RFQ
- Function
State what the part must do and where it will be used
- Material and process
Name the required grade or performance range
- Design controls
Mark critical geometry, orientation and finishing
- Acceptance
Define dimensions, tests and required records
Pre-RFQ review: recommended practice and common mistakes
| Recommended practice | Common mistake |
|---|---|
| Pick process and resin family together, matched to the dominant requirement | Specify "resin" without naming the family and HDT / Shore target |
| Treat marketing names ("ABS-like") as direction, then validate | Assume an "ABS-like" print matches moulded ABS in fatigue or impact |
| Include wash, post-cure, and finish in the dimensional callout | Measure dimensions straight out of the wash |
| Specify layer thickness by what must be resolvable | Default to the smallest layer on every job |
| Use PolyJet when multimaterial is the real requirement | Print PolyJet for single-material production parts |
| Prefer industrial for customer-facing or dimensional work | Submit desktop prints when repeatability matters across months |
- Resin family, Shore / HDT target, and key environmental exposures written on the drawing.
- Process (SLA / DLP / DLS / PolyJet) chosen against the dominant requirement, not by equipment availability.
- Layer thickness specified by the smallest feature that must resolve cleanly.
- All enclosed hollow volumes have at least two drain holes ≥ 3 mm.
- Overhang angles below 30° are supported; support-mark faces are not on cosmetic or mating surfaces.
FAQ, further reading and sources
What should you define first for 3D Printing?
Define the operating environment, functional load, quantity and acceptance criteria before choosing a process. Those requirements determine the material, design rules and inspection plan.
Can the typical values in this guide be released directly on a drawing?
No. Use them for early design, then confirm the exact grade, supplier capability, DFM response and first-article result.
What should be locked before scaling production?
Lock the material, process settings, orientation, finishing and inspection method. Confirm that different lots reproduce the first-article result before scaling.
Next, explore 3D printing services, materials, online quoting, and the related design guides linked below.