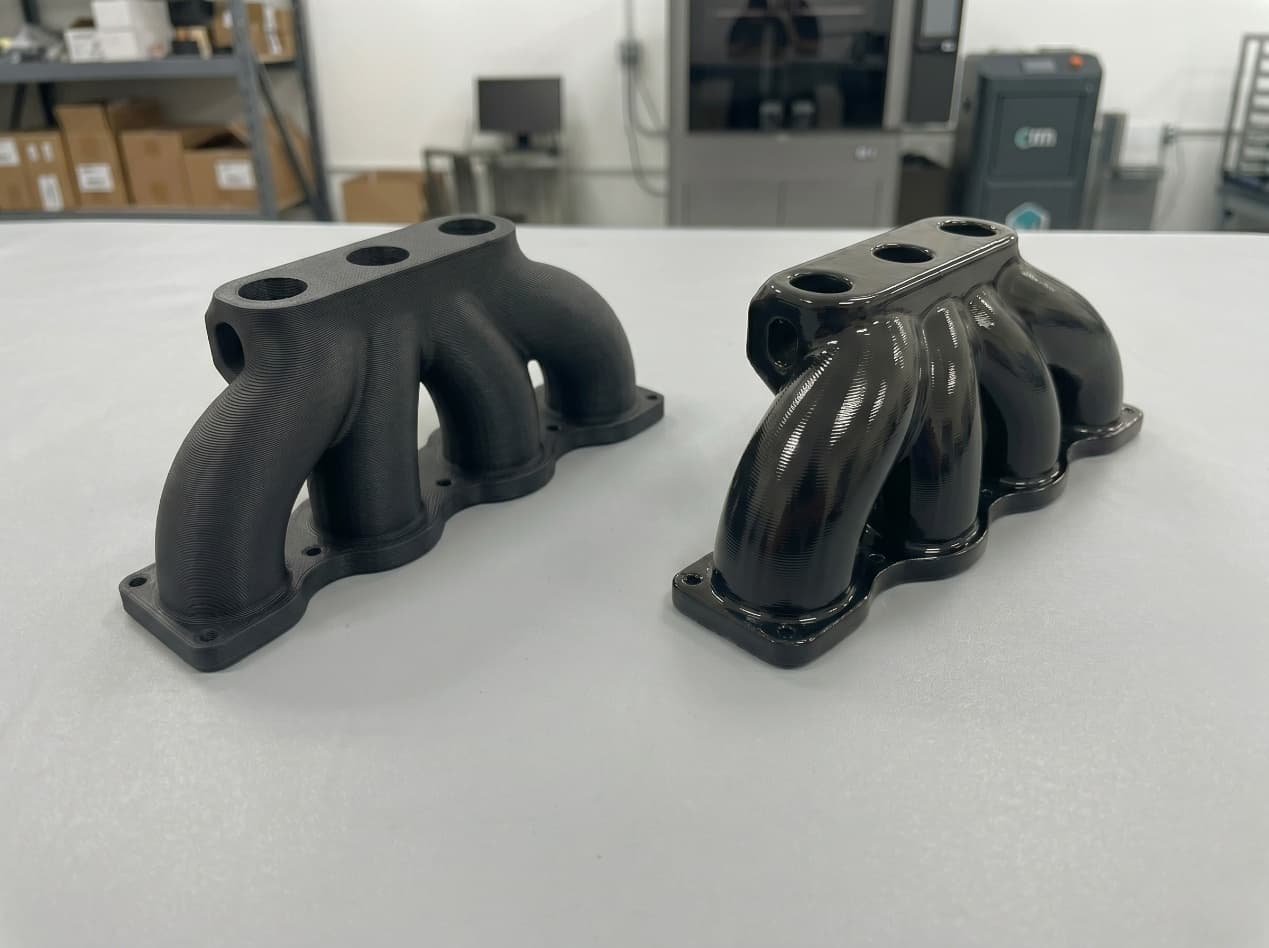
Post-Processing for Metal 3D Printing: The 40% of Cost That Decides 100% of Function

Content in this Article
3D Printing can look straightforward in CAD and still fail after printing, finishing or inspection. The useful question is not whether a process can make the geometry once, but whether the chosen material, orientation and acceptance method can deliver the required function repeatedly. This guide turns that decision into a practical review workflow.
- Define the operating environment, functional load, quantity and acceptance criteria before choosing a process.
- Treat dimensions and performance values as design-starting points; confirm the exact grade and supplier capability before release.
- Use a first article or pilot lot to lock inspection and process controls before scaling.

Start with requirements and process selection
Why Metal AM Cannot Ship As-Printed
Laser powder bed fusion deposits material as a rapid succession of melt pools, each cooling at 10^5 to 10^6 K/s. That violent thermal history leaves three realities: anisotropic grain structure, residual tensile stress near the yield strength, and sub-surface porosity of 0. 1 to 0.
The chain below is sequential: skipping any step cascades defects. Wire-EDM cutting a stressed plate can warp it 2 mm; heat-treating after machining relocates datums; HIP on a part with open-surface porosity simply smears the surface. Order matters.
The Full Post-Processing Chain
Every production metal AM program uses some subset of eight sequential stages. The table below shows the canonical order and what each stage addresses.
| # | Stage | Purpose | Typical equipment | Skip if |
|---|---|---|---|---|
| 1 | Stress relief on plate | Reduce residual stress before cutting | Vacuum / inert furnace | Very small Al part with low stress |
| 2 | Part removal | Separate part from build plate | Wire EDM, band saw | — |
| 3 | Support removal | Remove lattice and anchors | Pliers, CNC, grinding | Supportless design |
| 4 | Solution / heat treat | Set microstructure and hardness | Vacuum furnace | Printed in final condition |
| 5 | HIP | Close internal porosity | Hot isostatic press | Non-fatigue, non-pressure part |
| 6 | Age / precipitation | Final strength | Air or vacuum furnace | Non-age-hardening alloy |
3D Printing: define requirements before selecting a process
Connect requirements, process decisions and inspection before the first build to reduce late design changes.
- 1Requirements
Function, service environment, quantity and failure risk
- 2Material and process
Material grade, build strategy, geometry and finishing
- 3Inspection
Critical dimensions, functional tests and lot records
Key design rules
Heat Treatment Profiles by Alloy
Once support has been removed, a dedicated heat treat cycle sets final mechanical properties. T6, solution-age and precipitation hardening each serve different alloy families.
| Alloy | Cycle | Stage 1 | Stage 2 | Target property |
|---|---|---|---|---|
| AlSi10Mg | T6 | Solution 520 °C / 1 h + water quench | Age 160 °C / 6 h | UTS ~330 MPa |
| Ti6Al4V | Anneal | 700-800 °C / 2 h, furnace cool | — | UTS ~950 MPa, ductility |
| Ti6Al4V | STA | 955 °C / 1 h water quench | Age 540 °C / 4 h | UTS ~1100 MPa |
| Inconel 718 | Solution + double age | 980 °C / 1 h | 720 °C / 8 h + 620 °C / 8 h | UTS ~1270 MPa |
| 17-4 PH | H900 | Solution 1040 °C / 30 min | Age 480 °C / 1 h | UTS ~1310 MPa |
| CoCrMo | Solution anneal | 1150-1220 °C / 4 h | — | Biocompatible microstructure |
Hot Isostatic Pressing: When Fatigue Matters
HIP applies isostatic gas pressure at temperature. The combination of pressure and plastic flow closes trapped porosity that printing alone cannot eliminate. It is mandatory for rotating, flight-critical, or pressure-bearing parts and strongly recommended wherever fatigue life is specified.
| Alloy | Pressure | Temperature | Hold | Fatigue gain |
|---|---|---|---|---|
| Ti6Al4V | 100 MPa | 920 °C | 2 h | 3-10x |
| Inconel 718 | 100 MPa | 1160 °C | 4 h | 5-15x |
| Inconel 625 | 100 MPa | 1120 °C | 4 h | 5-10x |
| AlSi10Mg | 100 MPa | 500 °C | 2 h | 2-5x |
| 17-4 PH | 100 MPa | 1120 °C | 4 h | 3-8x |
| CoCrMo | 100 MPa | 1200 °C | 4 h | 5-10x |
From prototyping and finishing to acceptance
3D Printing: four checks before RFQ
- Function
State what the part must do and where it will be used
- Material and process
Name the required grade or performance range
- Design controls
Mark critical geometry, orientation and finishing
- Acceptance
Define dimensions, tests and required records
Pre-RFQ review: recommended practice and common mistakes
| Recommended practice | Common mistake |
|---|---|
| Stress-relieve on the build plate | Wire-cut a stressed part off the plate |
| Specify heat-treat cycle on the drawing | Write 'heat treat per vendor standard' |
| Add machining stock only on toleranced features | Apply 1 mm stock globally |
| HIP fatigue and pressure parts | Assume printing alone closes porosity |
| Inspect datums after heat treat | Inspect only after machining |
| Coat or passivate corrosion-exposed alloys | Ship bare AlSi10Mg for outdoor use |
- Stress relief certificate attached (alloy, temperature, hold, atmosphere)
- Heat-treat and HIP charts reviewed, thermocouples within 5 °C of setpoint
- CMM report shows datums after machining, not before
- Surface roughness Ra measured on at least three functional faces
- Corrosion protection (anodise, passivation, paint) applied per drawing
FAQ, further reading and sources
What should you define first for 3D Printing?
Define the operating environment, functional load, quantity and acceptance criteria before choosing a process. Those requirements determine the material, design rules and inspection plan.
Can the typical values in this guide be released directly on a drawing?
No. Use them for early design, then confirm the exact grade, supplier capability, DFM response and first-article result.
What should be locked before scaling production?
Lock the material, process settings, orientation, finishing and inspection method. Confirm that different lots reproduce the first-article result before scaling.
Next, explore 3D printing services, materials, online quoting, and the related design guides linked below.