How Much Does 3D Printing Cost? The Real Drivers Behind the Quote
Content in this Article
3D Printing can look straightforward in CAD and still fail after printing, finishing or inspection. The useful question is not whether a process can make the geometry once, but whether the chosen material, orientation and acceptance method can deliver the required function repeatedly. This guide turns that decision into a practical review workflow.
- Define the operating environment, functional load, quantity and acceptance criteria before choosing a process.
- Treat dimensions and performance values as design-starting points; confirm the exact grade and supplier capability before release.
- Use a first article or pilot lot to lock inspection and process controls before scaling.

Start with requirements and process selection
The Four Cost Buckets, and Where They Usually Land
Break any 3D-printing quote into four buckets: machine time (amortising the machine's capital cost over its hours), material consumption (both part material and wasted or unrecyclable powder / resin / filament), finishing labour (support removal, depowdering, sanding, smoothing, machining, painting, inspection), and overhead (setup, CAD prep, handling, shipping, QA records). The relative weight shifts with process and part.
| Process | Machine time | Material | Finishing labour | Overhead |
|---|---|---|---|---|
| SLA / DLP | 40–55% | 10–20% | 20–35% | ~10% |
| SLS | 35–45% | 10–15% | 25–40% | ~10% |
| MJF | 30–40% | 15–20% | 25–35% | ~10% |
| FDM (industrial) | 45–60% | 10–20% | 15–25% | ~10% |
| DMLS / SLM (metal) | 50–65% | 15–25% | 15–25% (pre-machining) | ~10% |
Two observations matter. First, in powder-bed processes (SLS, MJF), finishing labour is routinely larger than material cost — which is why a design that creates cleanup difficulty is far more expensive than one that uses extra powder.
3D Printing: define requirements before selecting a process
Connect requirements, process decisions and inspection before the first build to reduce late design changes.
- 1Requirements
Function, service environment, quantity and failure risk
- 2Material and process
Material grade, build strategy, geometry and finishing
- 3Inspection
Critical dimensions, functional tests and lot records
Key design rules
Orientation Silently Rewrites the Quote
A 90° rotation can double or halve the quote. The mechanism is two-fold: build height changes linearly with the new orientation, and support requirements change non-linearly with the overhang profile the new orientation exposes.
| Orientation choice | Effect on build height | Effect on support | Typical $ impact |
|---|---|---|---|
| Longest axis vertical | Maximum height, longest cycle | Minimal side supports | +30–80% cost |
| Longest axis horizontal | Minimum height, shortest cycle | Large overhang supports possible | Baseline |
| 10–15° tilt | Near-minimum height | Support load distributed | +5–15% vs. flat, often lowest total |
| Enclosed pocket facing down | No effect | Heavy internal supports, trapped powder | +40–120% in cleanup |
| Enclosed pocket facing up | No effect | Minimal internal support | Baseline |
Geometry Moves That Actually Save Money
The most effective cost-reduction moves are design decisions made before the part is quoted. Most of them are small and boring; collectively they routinely take 20–50% out of a quote without touching function.
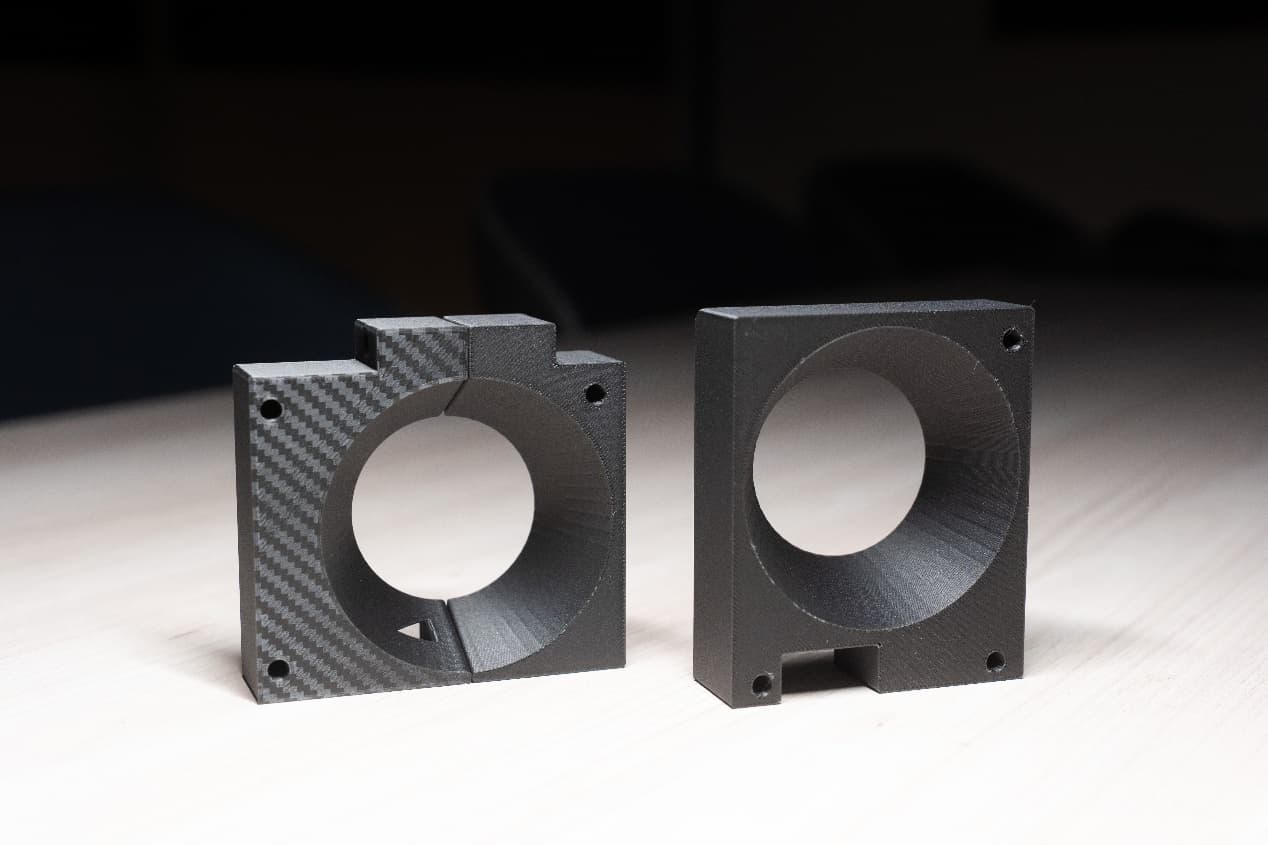
From prototyping and finishing to acceptance
"Complexity Is Free" — When It's True, and When It Isn't
Additive's most quoted promise has a real but narrow truth. Complexity that fits within an existing build envelope, uses no additional supports, and needs no additional finishing really does cost nothing extra — the machine traces the same layers whether they show a simple circle or an organic lattice.
The practical move is to separate functional complexity (cooling channels, topology-optimised ribs, consolidated assemblies) from decorative complexity (logos, surface textures on non-cosmetic areas, organic forms chosen because they look additive-native). Functional complexity typically pays back.
Additive vs. Alternatives: Rough Break-Even Volumes
| Alternative process | Tooling cost (one-time) | Additive wins below approx. | Alternative wins above approx. |
|---|---|---|---|
| CNC machining (subtractive) | $0 (programming only) | 1–10 units for complex geometry | 100+ for simple geometry |
| Urethane casting from printed master | $500–$3,000 (silicone mould) | 1–20 units | 20–100 units |
| Injection moulding (aluminium tool) | $3,000–$15,000 | 1–300 units | 500+ units |
| Injection moulding (steel tool) | $15,000–$80,000 | 1–2,000 units | 5,000+ units |
| Thermoforming | $500–$5,000 (simple tool) | 1–50 units | 200+ for thin-walled parts |
3D Printing: four checks before RFQ
- Function
State what the part must do and where it will be used
- Material and process
Name the required grade or performance range
- Design controls
Mark critical geometry, orientation and finishing
- Acceptance
Define dimensions, tests and required records
Pre-RFQ review: recommended practice and common mistakes
| Recommended practice | Common mistake |
|---|---|
| Quote by volume, orientation, and finish together | Quote by material unit price alone |
| Specify orientation on the drawing when it matters | Leave orientation to the quote-engine default |
| Hollow or rib solid sections with adequate drainage | Ship every part as solid because the CAD is easier |
| Pick the finishing rung the application needs | Default to the highest finish because it 'looks better' |
| Recompare process choice every time volume crosses 50, 500, or 5,000 | Assume the prototype process is the production process |
- Preferred orientation stated on the drawing or in the quote notes, with rationale.
- Solid sections over 5 mm thick reviewed for shelling or ribbing, with drainage / escape holes added where applicable.
- Enclosed internal volumes have escape holes ≥ 4 mm.
- Finish level is specified per face, not as a single blanket callout.
- For metal parts, CNC allowance is called out on datum and mating faces.
FAQ, further reading and sources
What should you define first for 3D Printing?
Define the operating environment, functional load, quantity and acceptance criteria before choosing a process. Those requirements determine the material, design rules and inspection plan.
Can the typical values in this guide be released directly on a drawing?
No. Use them for early design, then confirm the exact grade, supplier capability, DFM response and first-article result.
What should be locked before scaling production?
Lock the material, process settings, orientation, finishing and inspection method. Confirm that different lots reproduce the first-article result before scaling.
Next, explore 3D printing services, materials, online quoting, and the related design guides linked below.